
We have a really special treat for you on the blog today!
Customer Sagar was kind enough to not only share their fantastic DIY project, they also included step-by-step instructions (With Pictures!) of the process they used! All words and photos are courtesy of Sagar.
It all started when I purchased this interesting looking antique oak heating grate from Second Use, sometime last year.


It was really cool for a heating grate (pun intended), but it stayed in my garage for months as I couldn’t figure out what to really do with it.
Recently, I was watching how the Japanese Kumiko lanterns were made and that’s when my bulb went on. Instead of making those small Kumiko style lamps, I decided to make a floor standing lamp.
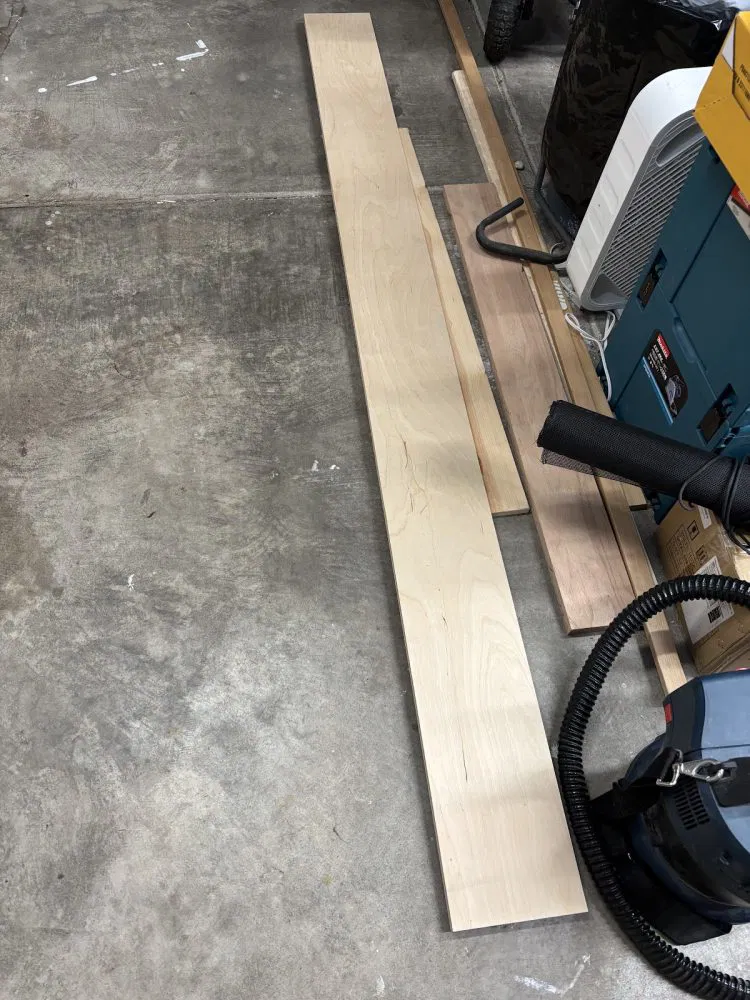
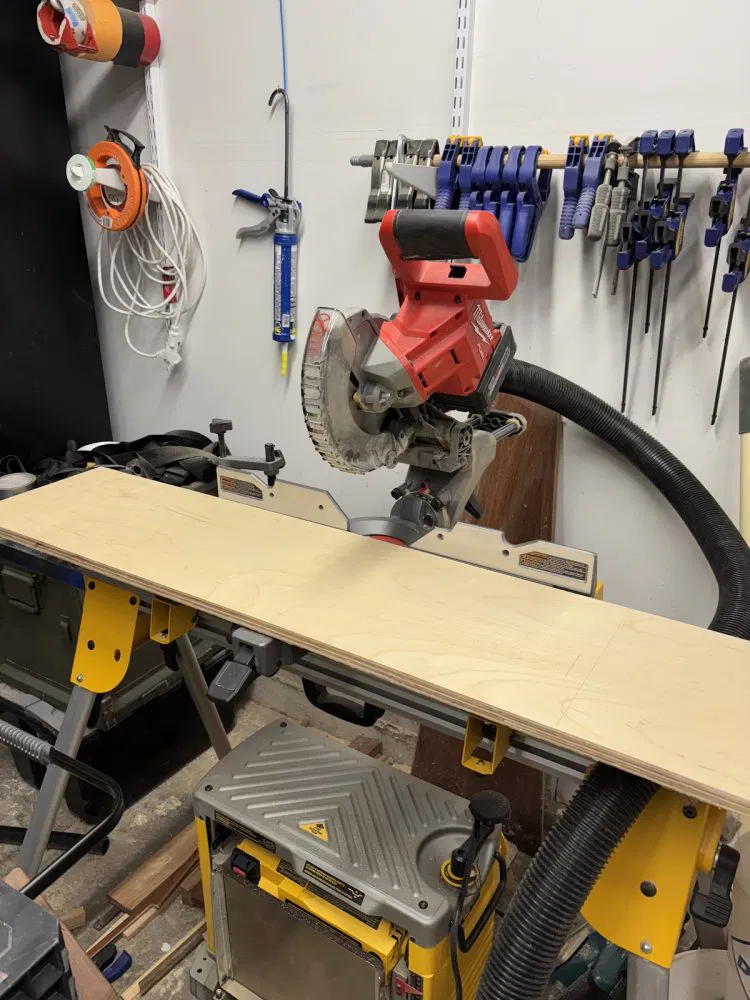
The build was pretty straight forward – make a box to hold the grate. I had a bunch of leftover birch veneer plywood from another project, so decided to use that to make the shell.


As the overall piece was pretty lightweight and doesn’t have to hold a ton of weight, I decided to just glue it. My wife was kind enough to let me use the kitchen counter as my work bench as my garage is not conditioned and glue needs a certain minimum temperature to cure properly.

The basic form was complete.


Next, it was time to clean up the grate. I used Krud Kutter and a toothbrush to scrub and clean up all the gunk accumulated in the grate over its lifespan. I waited for a day for it to completely dry off and then applied a coat of Spray lacquer to finish it off. For the plywood, I applied a coat of Osmo hard wax oil.


It was time to work on the light now. I purchased an off white Shoji paper and rice starch based glue to cover the grate from inside. The rice starch glue is important as it allows for easy removal and replacement of the paper in case of any damage in the future.


I used a paint brush to apply the glue on the grate. I didn’t apply on the whole grid, just on the outer corner and the middle intersecting pieces. Then I rolled the shoji paper and trimmed the excess.


As I wanted a soft low light with even dispersion, I opted to use a low 5v LED strip which doesn’t get warm and can be safely mounted directly on the finished wood surface.I tested it in the dark to make sure I’m happy with the LED light.


That was it! Did you like it? If you’ve any comments or feedback, do share it! -Sagar


